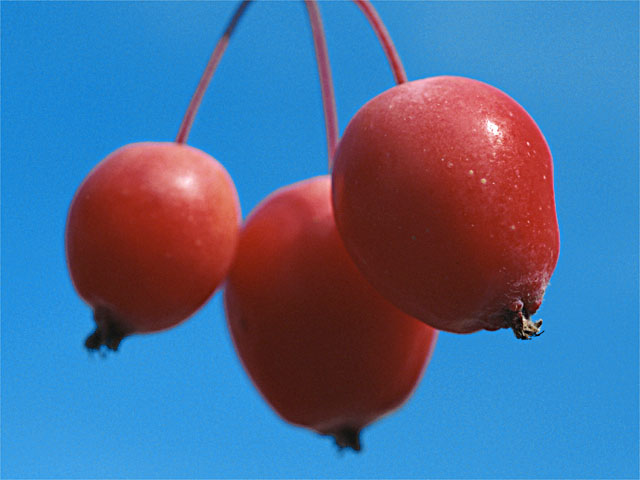
The BCC Directional Blur filter blurs the image by displacing it in one direction. The effect is similar to how a photograph of a speeding object appears if taken with a slower shutter speed.
 |
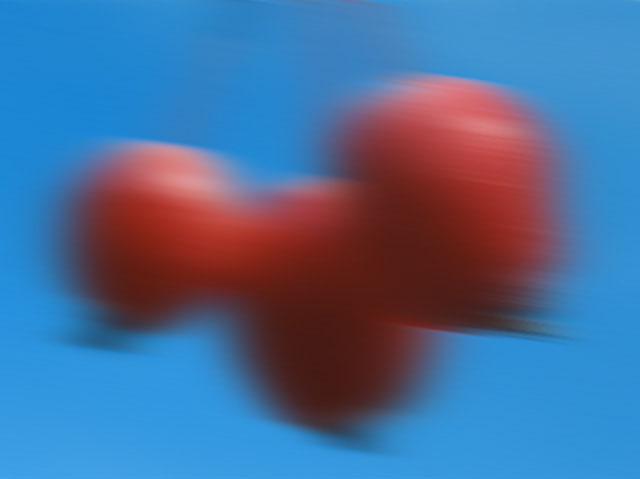 |
| Source Image | Filtered Image |
Function
Presets and Common Controls
BCC filters come with a library of factory installed presets plus the ability to create your own custom presets and preview them with the BCC FX Browser™.
BCC filters also include common controls that configure global effect preferences and other host-specific effect settings.
For more information about working with presets and other common controls, Click Here.
Compare Mode
The BCC Compare Mode provides a convenient mechanism to compare the effect result with the original source layer. It provides several variations on basic split-screen views with the filtered clip placed next to the unedited original.
For more information on the Compare Mode,Click Here.
If the source image is opaque, selecting the Opaque Source checkbox can speed rendering and preview times. If your source is partially transparent, deselect this option for best results.
Blur Amount controls the amount of blur applied to the image. Increasing Blur Amount displaces pixels farther in the chosen direction and creates more blur.
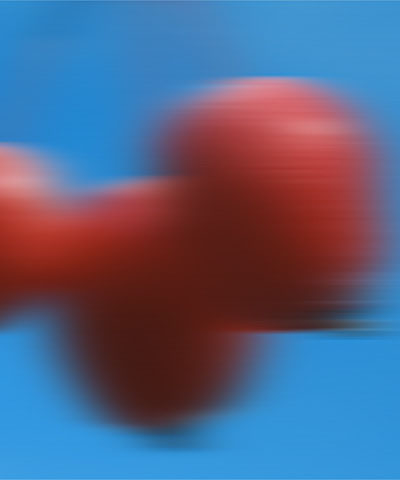
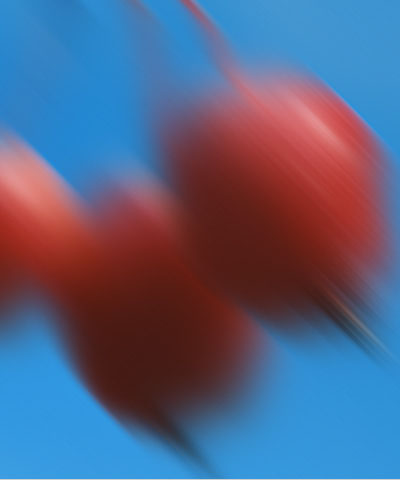
Angle sets the direction in which pixels are displaced to create the blur.
 |
 |
 |
| Angle=0 | Angle=45 | Angle=90 |
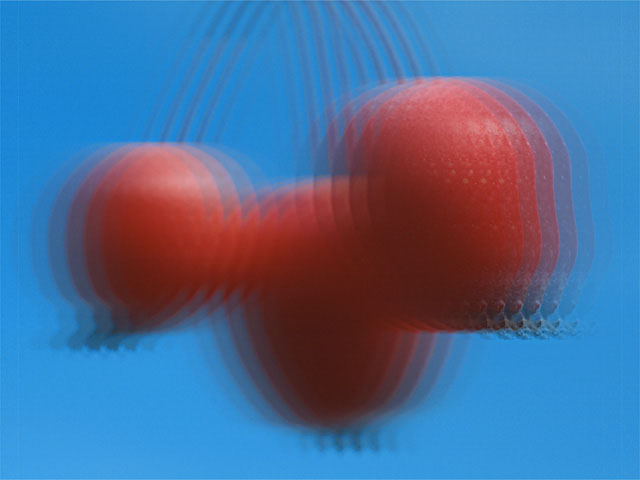
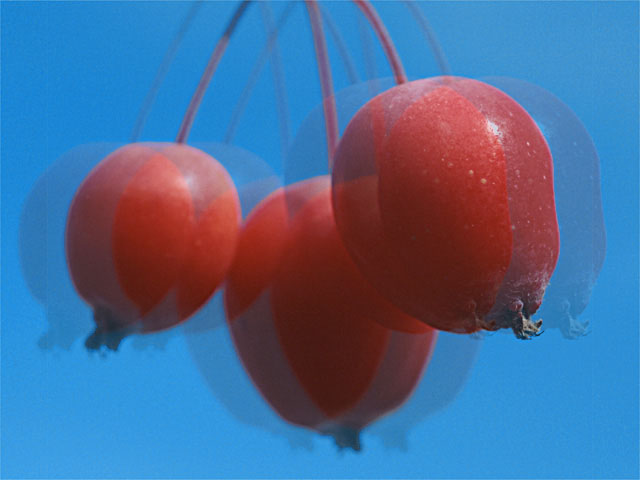
Thin reduces the number of pixels used to compute each point in the blur. Increasing Thin decreases the smoothness of the blur but reduces render time. Higher Thin values produce a “double vision” effect.
 |
 |
| Thin=25 | Thin=75 |
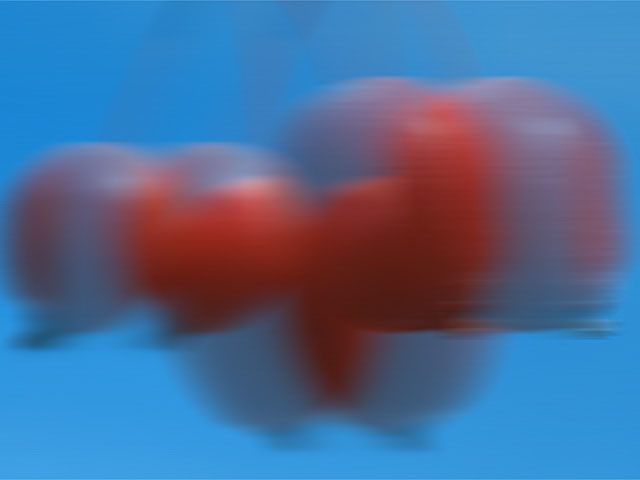
Increasing Spread causes each point in the rendered output to be affected more by points farther away from it in the blur, producing a blurred “double vision” effect.
 |
 |
| Spread=25 | Spread=75 |
Blur Threshold reduces the amount of color change to each pixel by the threshold amount. Increasing Blur Threshold causes the parts of the image with abrupt changes in color to blur, while areas with subtle details remain unchanged.
The Maximum Deviation parameter sets the maximum deviation (based on 8 bit color) allowed for any channel. Reducing this value limits the amount any color can change. This control becomes more noticeable at values below 30. Very small values of Maximum Deviation can be useful (especially combined with PixelChooser) to reduce noise in video and digital stills that contain noise in their dark areas.
The Avoid Clipping checkbox allows you to render outside the source image. Note that this will cause the edges of an opaque image the full size of the project to become partly transparent (just as some hosts such as After Effects’ built-in blurs do). If this box is selected the filter always uses Better Alpha Blending.
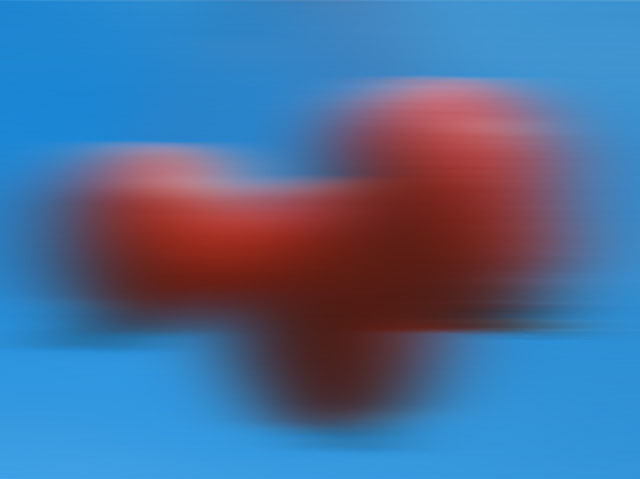
Displace Pixels displaces each pixel in the direction it is blurred. For example, if Blur Amount is set to 20 and Displace Pixels is on, pixels are displaced 20 pixels in the specified Angle and blurred 20 pixels. Thus an Angle value of 0 displaces the image to the right, and a value of 180 displaces the image to the left. If Displace Pixels is off, pixels are blurred 20 pixels but not displaced.
In the following examples, the image is blurred with a Angle setting of 180°. When Displace Pixels is selected, the image is displaced to the left.
 |
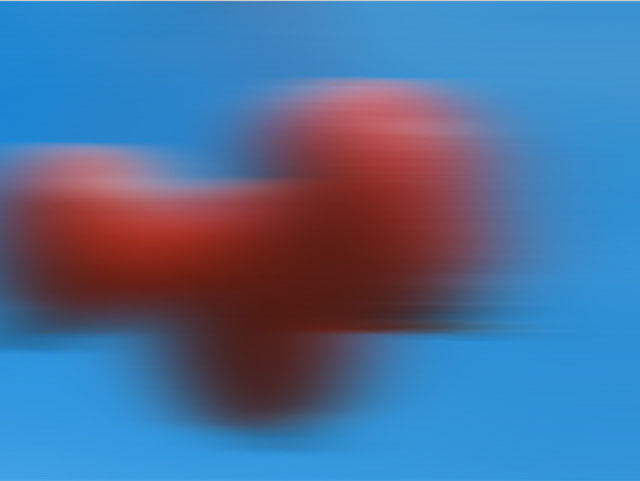 |
| Displace Pixels off | Displace Pixels on |
The Apply Mode menu controls how the filtered image is composited with the source image.
For descriptions of all the possible Apply Modes, Click Here.
Apply Mix controls the mix of the specified Apply Mode with the Normal apply mode. If the Apply Mode is Normal, Apply Mix has no effect. If Apply Mix is 0, Apply Mode has no effect. Increase Apply Mix to blend the Apply Mode setting with the Normal apply mode.
Use the Channels menu to specify which channels are blurred. You can blur all four channels (RGBA), just the RGB channels, just the Alpha channel, or any combination of the Red, Green, and Blue channels.
Mix with Original blends the source and filtered images. Use this parameter to animate the effect from the unfiltered to the filtered images without adjusting other settings, or to reduce the effect of the filter by mixing it with the source image.
If you are using the controls in the PixelChooser parameter group, the Apply PixelChooser menu determines when the PixelChooser controls are applied to the blurred image.
- Choose Post–Effect for the PixelChooser to affect the image before the blur is applied.
- Choose Pre–Effect for the PixelChooser to affect the image after the blur is applied.
- Choose Both for the PixelChooser to affect the image both before and after the blur is applied.
PixelChooser
The BCC PixelChooser provides simple, built-in masking of the effect result. The PixelChooser is generally used to select a portion of the image and restrict an effect to just the selected area while maintaining the original image content in unselected regions. The selection can be based on geometric shapes or on the image’s luma/color properties.
For more information on the PixelChooser, Click Here.
Beat Reactor
The BCC Beat Reactor is an animation control suite which drives effect properties based on the contents of an audio track. This lets you seamlessly tie visual FX to an audio soundtrack without the need for ANY manual keyframing.
For more information on the Beat Reactor, Click Here.
