< Previous | Contents | Manuals Home | Boris FX | Next >
Vignetted Lenses
Special Lens Types
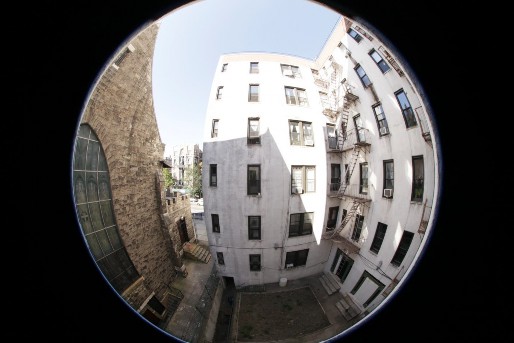
You may be presented with a vignetted image, something like this anamorphic image:
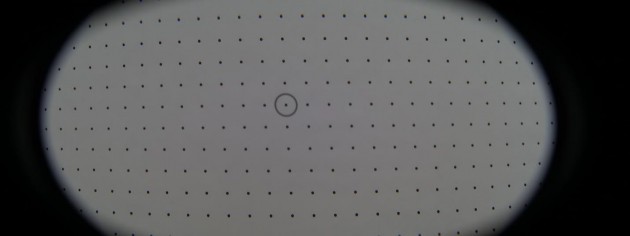
It is important for SynthEyes to know which is the good portion of the image, for both workflows:
- Workflow #1: the output rectangle must be inset, so there are no black vignetted pixels in the output rectangle.
- Workflow #2: the output rectangle doesn't need to be unnecessarily large in order to encompass pixels that are black anyway.
To do this, add a rotomask that encloses exactly the valid portion of the image, and none of the vignetted portion. Recommended: delete the underlying default rectangular spline.
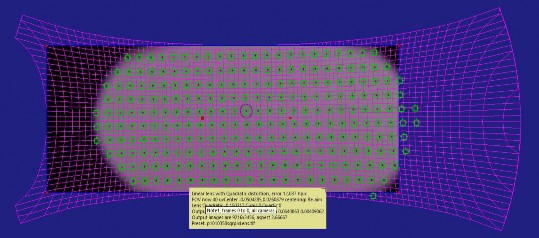
NOTE : Be alert for mispositioned dots or lines at the edge of a vignetted image.
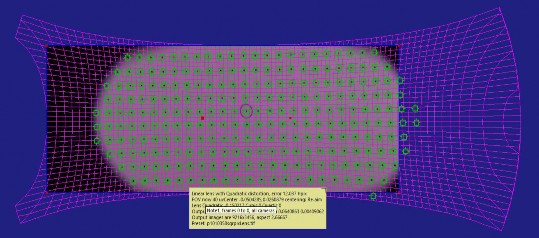
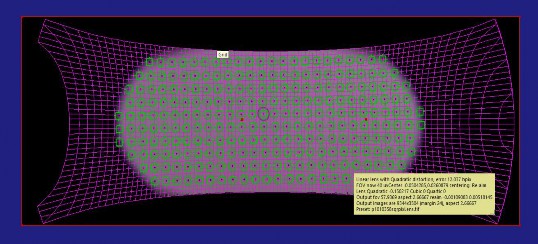
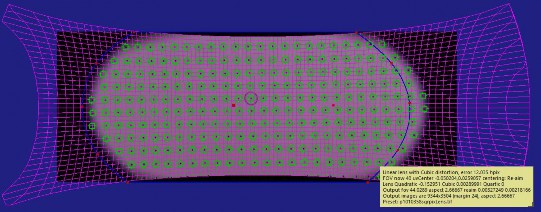
Some sample processed results are shown below. In each case, the visible image shows what is being output; compare that with the (modified) positions of the trackers to see what portion of the now-undistorted image is being used.
Workflow #1: No Spline (invalid pixels in frame) |
|
|
Workflow #1: With Spline (all pixels valid) |
|
|
Workflow #2: No Spline (wasted space) |
|
Workflow #2: With Spline (tighter packing) |
|
Note that the spline coordinates are not updated in this process, they still reflect the original positioning, so you should ignore them after the calibration process has run.
TIP : For workflow #1 and vignetted lenses, use the Override Aspect control to pull a final image with a desired aspect ratio from inside the vignetted image. SynthEyes will take that final aspect ratio into account. For example, pull a 2.35 image from inside a 16:9 image with a 2:1 anamorphic lens.
Depending on which workflow you are using, #1 or #2, you can shift the spline boundary in or out a little over the "gray zone" right at the vignetting boundary.
©2023 Boris FX, Inc. — UNOFFICIAL — Converted from original PDF.

